3. Basic page
The basic page, along with the structured page will form the majority of general content pages on your site. The basic page offers the simplest type of page and is suitable for:
- a single topic
- content that can be displayed to the user in a single view.
2. Task 3.1 - format content
Essential guides
It is recommended that you read the essential guides prior to completing the task.
Basic page guide
Basic pages are the simplest and most common type of page. The majority of general content pages on a site will be either Basic page or Structured pages.
Step 1
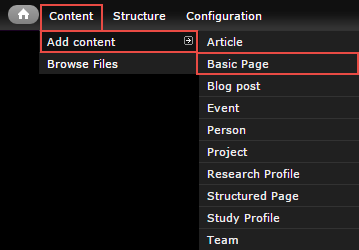
In the administration menu, go to Content > Add content > Basic page.
Step 2
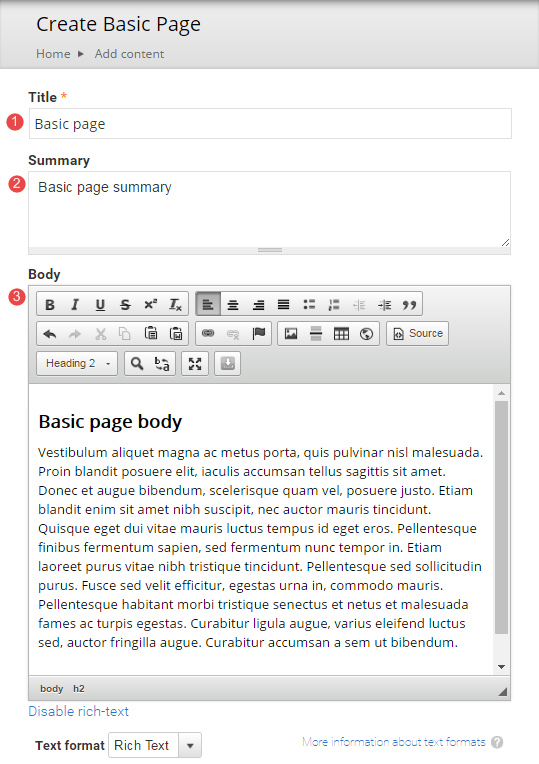
The edit screen displays.
- Title - Page title
- Summary - Optional. Displays in teaser and card views where the page is referenced in a list. Doesn't appear on the page.
- Body - Content of the page
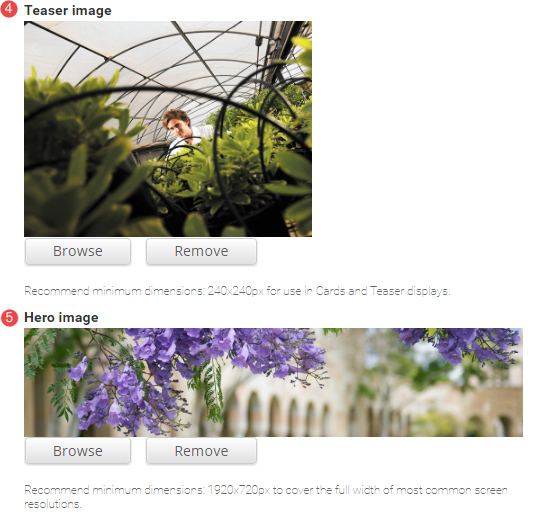
- Teaser image - Optional. Displays in card and teaser views. Advice on images.
- Hero image - Optional. Replaces the default page header with a hero banner header.
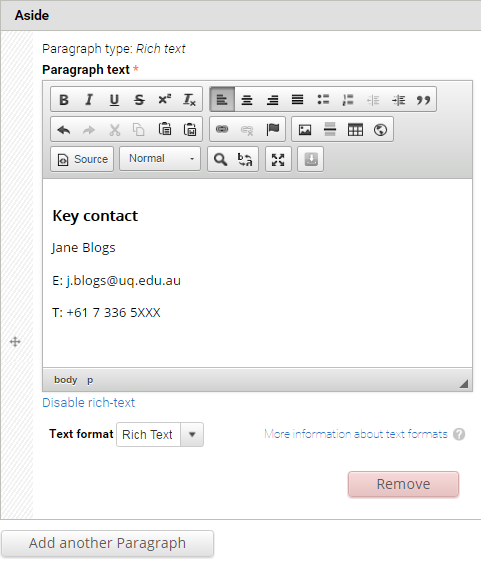
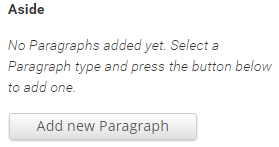
- Aside - Optional. Used for content that is tangentially related to the Body content, such reminders or contact details.
Click Add new paragraph to create an Aside.
Note - Headings used in the aside, should start at heading level 3.

The Aside field displays.
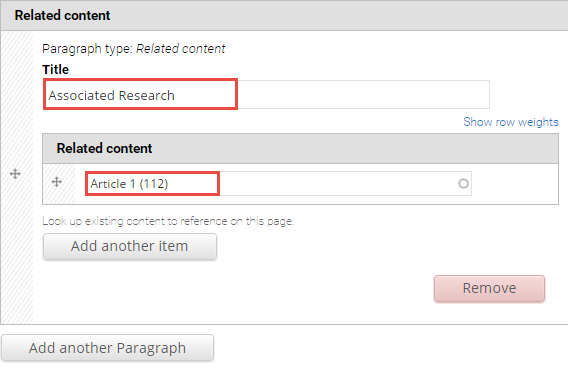
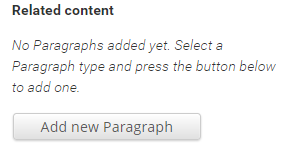
- Related content - Optional. Allows other pages on the site to be referenced in a short list. The relationship is manually created, not inferred from any data such as tags.
Click Add new paragraph to create a related content group.

The Related Content fields display.
Title - Optional. Heading to label the related pages. e.g. "Associated research", or "See also"
Related content - Reference to other pages on the site. Type the first few letters of a page title to look-up the desired page. Multiple related pages can be added.
- Tags - Click the dropdown arrow to select a tag from the list of vocabularies and their terms to categorise the content.

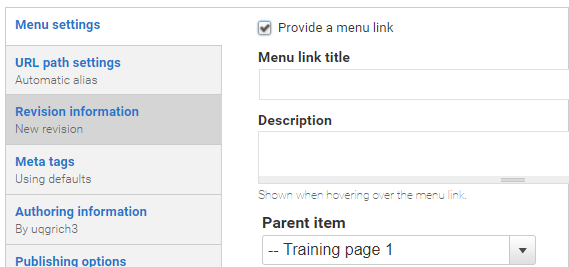
- Menu Settings - Tick provide a menu link to display the menu settings options. Adding a page to the menu ensures it will appear in the site map.
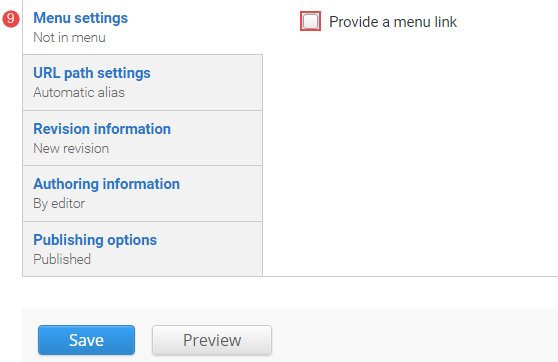
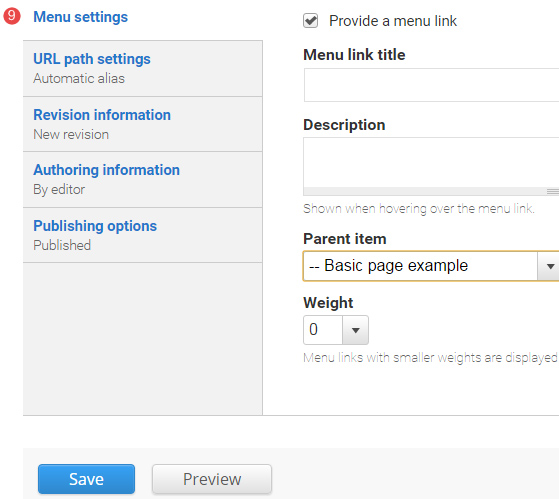
Enter the menu settings fields.
Menu link title - The menu link title is automatically populated from the basic page title. The menu link title can be edited.
Description - Content entered in the description field will be displayed when hovering the cursor over the menu link.
Parent item - Selection of a parent item ensures improved website navigation by displaying a breadcrumb trail at the top of the page.
Weight - Select a weight to determine the order of the menu link in the Parent Item. Menu links with smaller weights are displayed before links with larger weights. Tip: easier to drag the links into position to change the order.
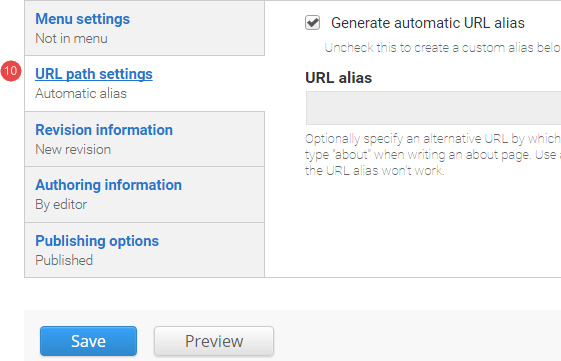
- URL path settings - a friendly URL is generated automatically if the tick box remains ticked.
- Revision information - if create new revision remains ticked, a new version of the basic page is saved each time after it is published. The versions are accessible from the revisions tab.
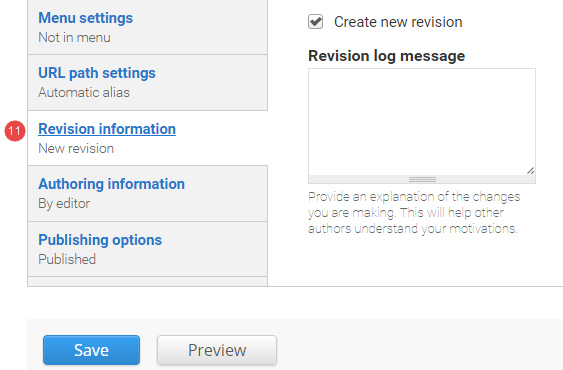
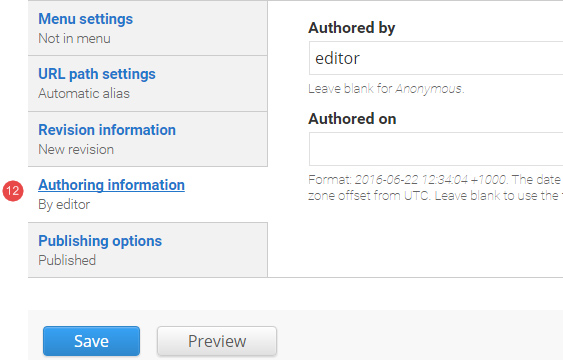
- Authoring information - The information of the author is recorded. After the basic page is saved, the "Authored on" field is updated.
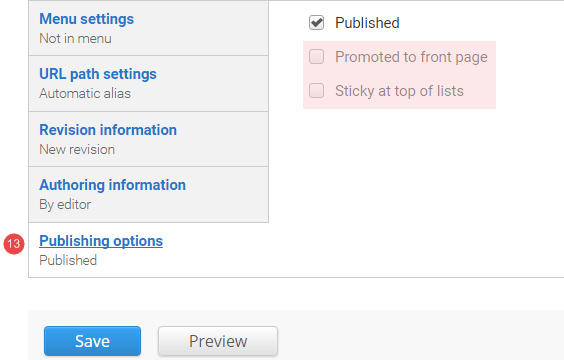
- Publishing options - Click the tab Publishing options to finalise the publishing settings.
To publish - The published field is automatically ticked. Keep it tick to publish
To create a draft - untick published to save as a draft.
- Save - Click Save to update the basic page.
Headings guide
Headings help to organise content and give structure and meaning to a page.
Headings and subheadings make it easier for users to quickly find the information they need, and allow assistive technologies and web crawlers to scan and understand content.
Writing headings
Headings should accurately outline the main purpose of the content in language that helps readers to find the information they're looking for.
When writing headings, make sure they're succinct and appropriately descriptive to help readers scan the page. They should also:
- include relevant keywords
- be short and simple (ideally 65 characters or less for mobile users)
- use sentence case to make them easier to read.
Good headings also avoid using jargon, puns, and exaggerated or unrelated terms.
Hierarchy
Headings are organised into a hierarchy, with levels starting at one and continuing to 6. In web content, they are referred to as H1, H2, H3, H4, H5 and H6.
When using headings on a page, you should always organise them in hierarchical order, with the main heading on the page as H1, followed by subheadings in order from H2 onwards.
The page title should always be H1 – and there should only be one H1 per page. This can be included on the hero image or at the top of the page.
Subheadings break the page into more specific sections. H2 should be used for main subheadings on a page, with further subheadings using H3, H4, or H5 in descending order. It is rare to need H4 or H5 – generally, using headings down to H3 is enough.
Headings communicate a specific meaning to both users and web crawlers. Misusing headings can confuse users, screen readers and search engines.
Best practice
- Never skip heading levels for style reasons (for example, jump from H2 to H4).
- Don't use bold text instead of a heading.
- Don't use a heading because you just want to make text bigger.
- Don't format whole paragraphs as headings.
- Use one H1 per page.
Example heading hierarchy
H1
This is the main heading on a page.
H2
H2s should be used for second-level subheadings, to group the page into larger sections.
H3
Use H3s for third-level subheadings, to break up content within H2 sections.
H4
Use for fourth-level subheadings.
H5
Use for fifth-level subheadings (rarely used).
Note
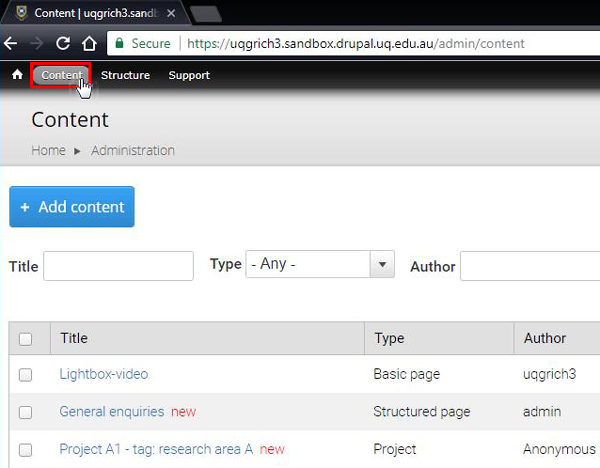
To view unpublished and published pages in your sandbox site, click content in the administration menu.
Task instructions
Create a basic page and follow the numbered actions below to populate the fields before publishing.
You can save your unpublished basic page at any time by clicking Save.
1. Title field
Insert the title: Accessibility in practice

2. Summary field
Insert the summary text: Remove barriers to website access

3. Body field

Copy the shaded exercise text below and paste it in the body field of your basic page.
Format the exercise text to assist users in scanning the content by improving the usability
- Insert heading styles where applicable
- Create a list to structure the content that lists information
- Emphasise text to assist users in scanning the content
Title and heading styles
People, search engines and screen readers use page titles and headings in the page to determine the relevancy of web content. For this reason, make your headings:
user-centred - so they describe and differentiate content in a way that is meaningful to the audience. Do not use generic terms like ‘Welcome’, 'Important information' or 'Introduction'.
frequent – every 3 paragraphs on the page as a minimum
concise - under around 60 characters. If you need to use more, introduce a sub-heading.
active - avoid ‘-ing’ or ‘-ion’ words, e.g. ‘Apply for entry’ not ‘Applying for entry’ or ‘Making an application’.
in plain English wherever possible
marked up using heading levels (h2 through h4) sequenced in levels for sub-headings. Do not use bold for headings as screen readers and search engines will not recognise this as a heading
easy to scan – front load your headings with keywords. Avoid using questions as headings as they will tend to push your keywords to the end.
4. Images
- Teaser image field - do not upload a teaser image
- Hero image field - do not upload a hero image
5. Aside - used for minor content such reminders or any other short piece of text or contact details that is an addendum and not main content.
Insert the following aside:
Location style as heading level 3
Level 3, Prentice building (42) style as normal
St Lucia style as normal
6. Related content
Select Article 1 for related content
7. Tag field
Select the tag sample basic page from the drop-down list

8. Menu settings - Adding a page to the menu ensures it will appear in the site map.
Select the parent item Training page 1
9. Publishing options
Publish the basic page
Checklist: UQ Drupal Fundamentals
Avoid using Microsoft Edge or Internet Explorer for Drupal training.
