6. Event and event sessions
2. Task 6.1 - event - with sessions
Essential guide
It is recommended that you read the essential guide prior to completing the task.
Event guide
Events are comprised of 2 parts: the Event, and Sessions. Every event must have at least one Session, but they can have multiple Sessions.
For instance an all day event may have several lecture sessions and a workshop session.
Create an event
Step 1
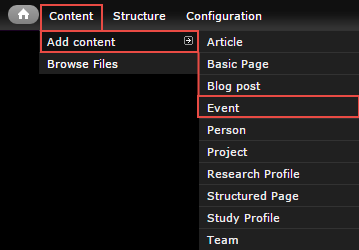
In the administration menu, go to Content > Add content > Event.
Step 2
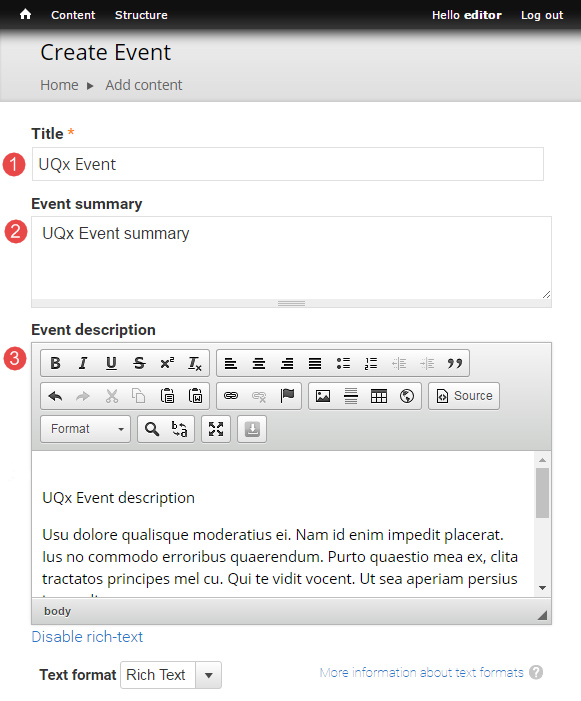
- Title
- Event Summary - Optional. Displays in teaser and card views where the event is referenced in a list. Doesn't appear on the page.
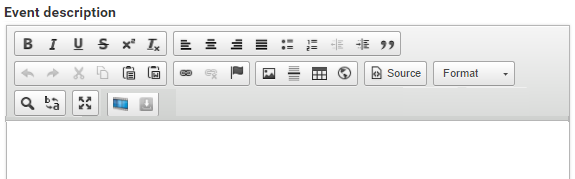
- Event Description
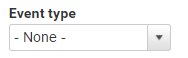
- Event type - Taxonomy term used for grouping events.

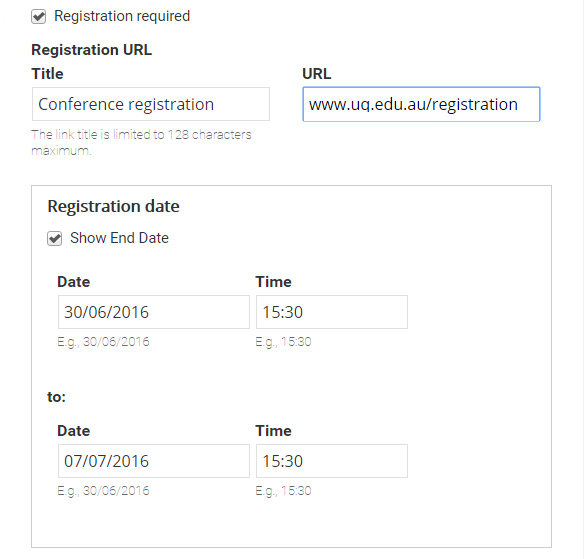
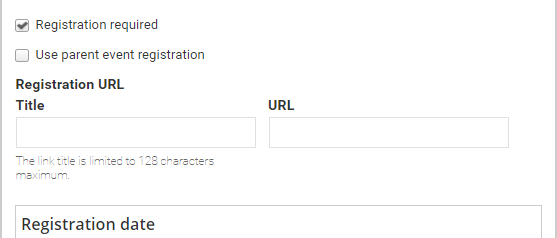
- Registration required - Tick if registration for the event is required. Additional registration fields will appear.
![]()
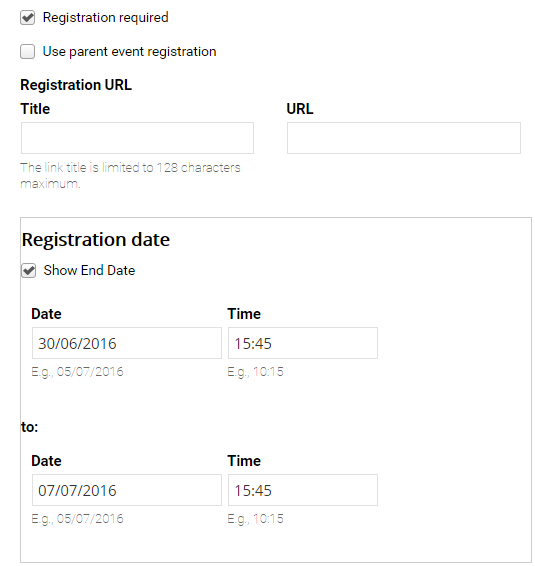
The registration fields display.
Registration URL - Label and url for the registration button.
Registration dates - The register button will only display between the start and end dates.
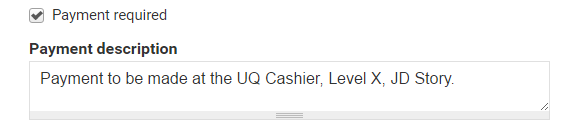
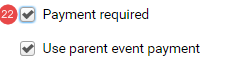
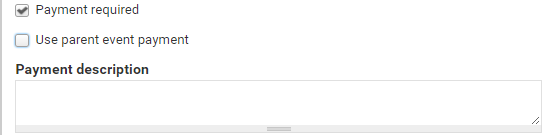
- Payment required - Tick if payment is required. Additional payment fields will appear.
![]()
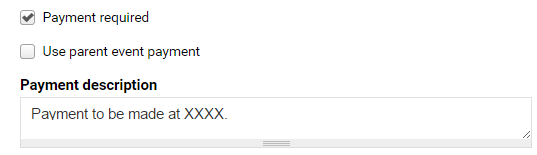
The payment fields display.
Payment description - Recommend: costs, instructions for where/who to make the payment to.
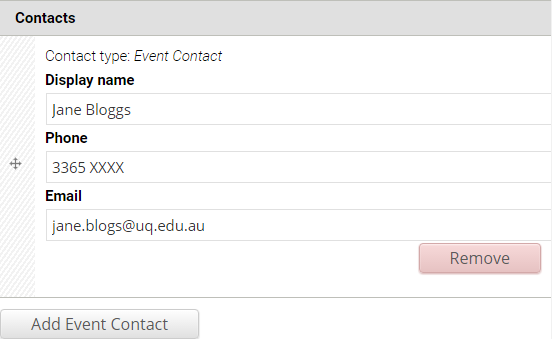
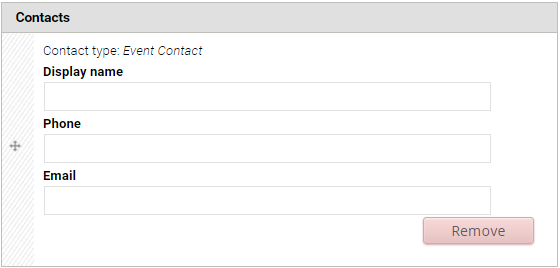
- Contacts - Optional. Provides event contact name and details. Multiple contacts can be added.
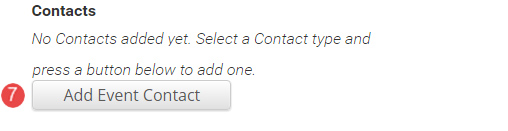
The contact fields display.
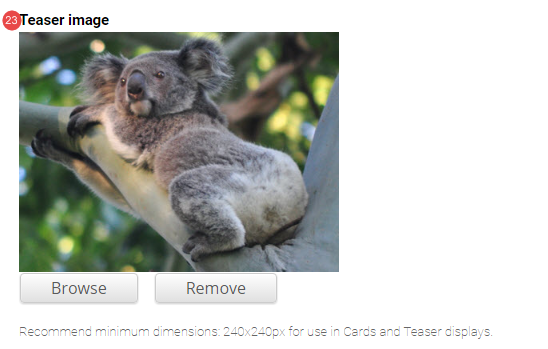
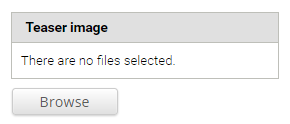
- Teaser image - Optional. Displays in card and teaser views. Advice on images.
- Hero image - Optional. Replaces the default page header with a hero banner header.

- Tags - Optional. Tag events to filter list of events on other pages. See tagging.

- Add sessions to complete the event.
Add sessions
- Click Add new session to display the session detail fields.
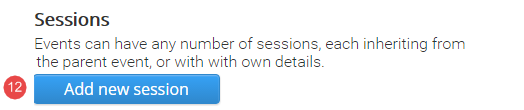
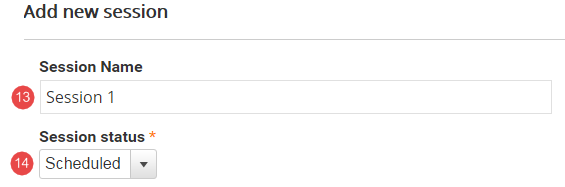
The session detail fields display.
- Enter the Session name
- Session status - The status defaults to scheduled. If a session is cancelled, the status can be updated to cancelled
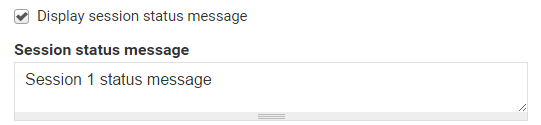
15. Tick the box to display the field to complete a Session status message to the event.
![]()
The status field displays.
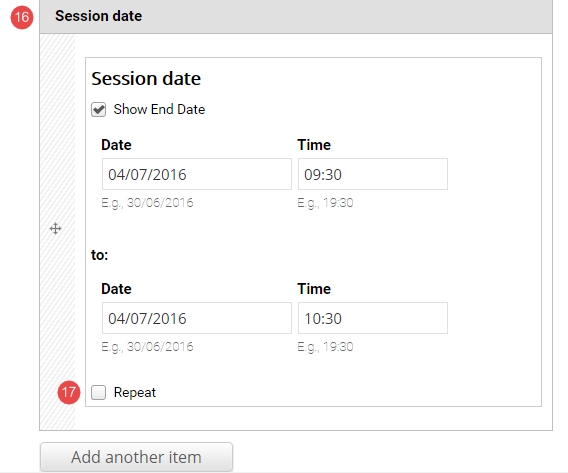
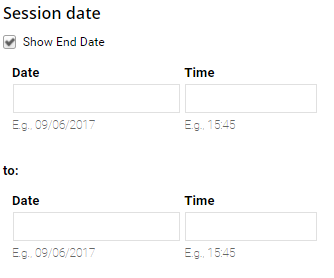
- Session date - Enter the start and end date and times.
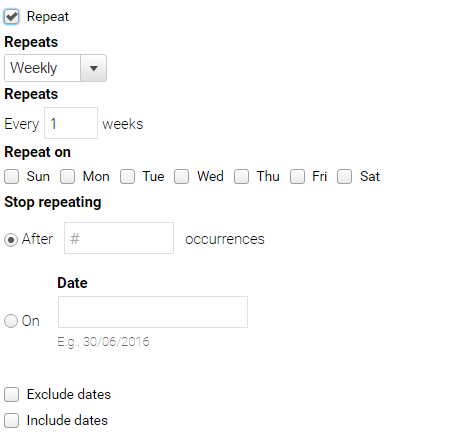
- Tick repeat sessions if additional sessions follow a pattern.
The repeat options display. Select if applicable
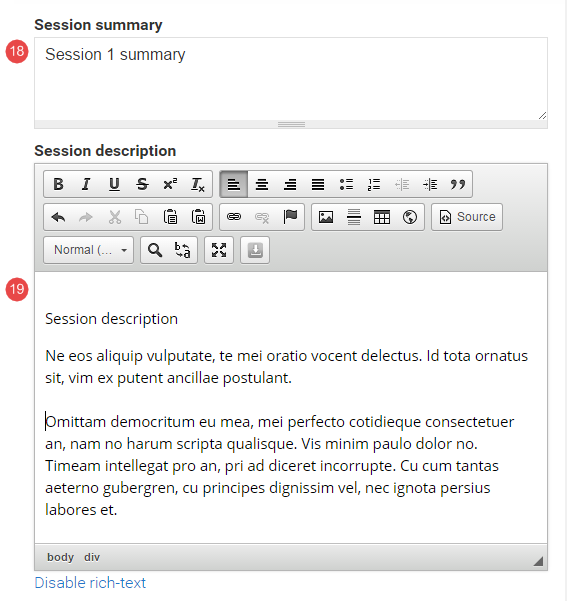
- Session summary - Displays in teaser views where a link to the session is displayed in a list.
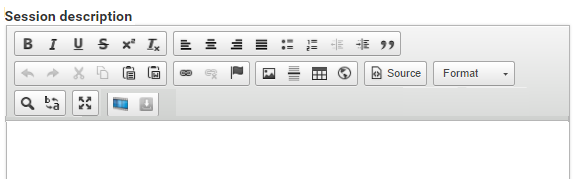
- Session description - Displays below the event description on the session page.
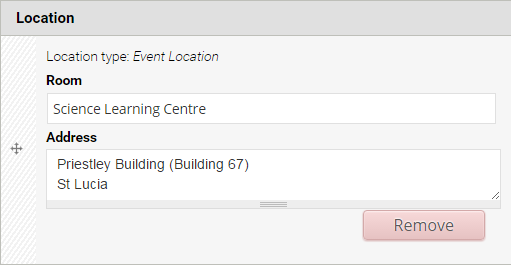
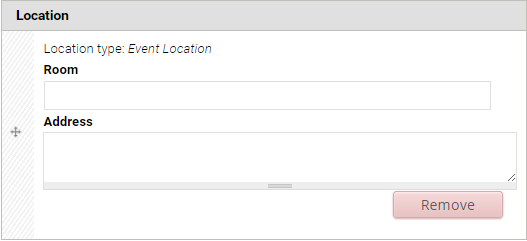
- Click Add new location for the session.
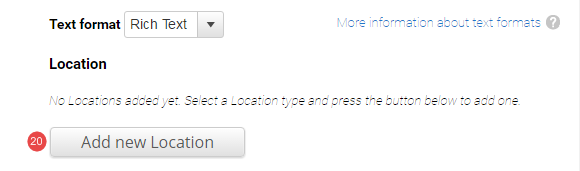
Location fields display. Enter the location details
- If registration is required, tick the registration required box.
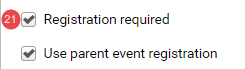
The option to use the parent registration details is automatically selected. If however, this is unticked, additional fields to provide specific registration details for the session are provided.
- If payment is required, tick the payment required box.
The option to use the parent payment details is automatically selected. If however, this is unticked, additional fields to provide specific payment details for the session are provided.
- If required, add a Teaser image for the session.
- Select tags to categorise the session.

- To publish the session, tick published.
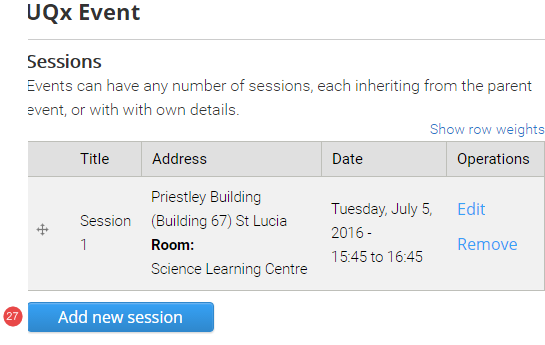
- To save the session, click Update session.

- The saved session is added to a table. Click Add new session to add additional sessions to the event.
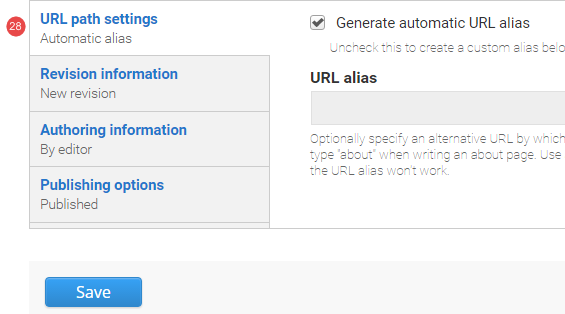
- URL path settings - a friendly URL is generated automatically if the tick box remains ticked.
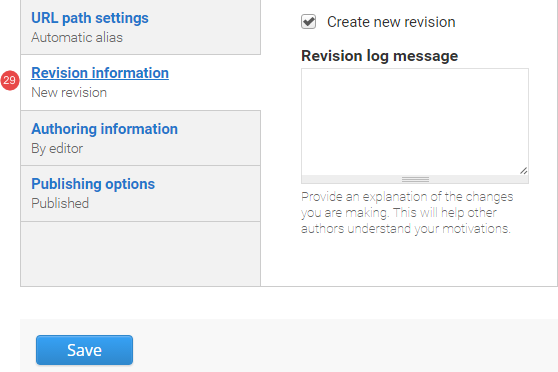
- Revision Information - if create new revision remains ticked, a new version of the article is saved each time. The versions are accessible from the revisions tab.
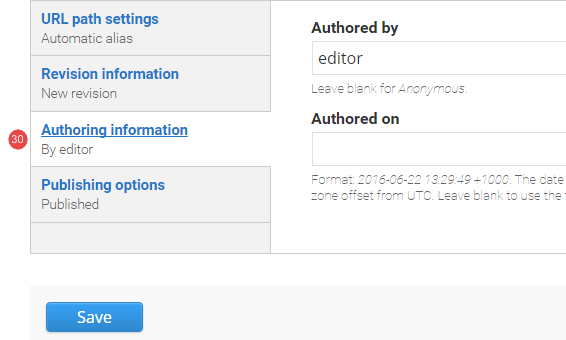
- Authoring Information - The information of the author is recorded. After the article is saved, the "authored on field" is updated.
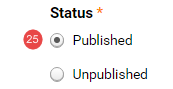
- Publishing Options - Click the tab Publishing options to finalise the publishing settings.
To publish - The published field is automatically ticked. Keep it ticked to publish
To create a draft - untick published to save as a draft.
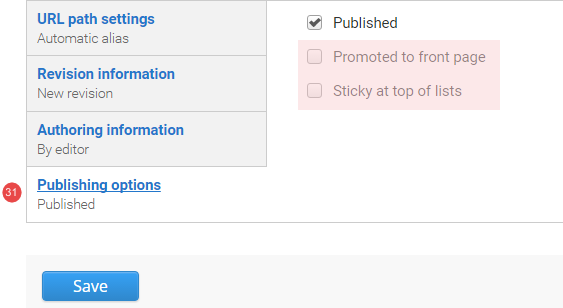
- Save - Click Save to update the article.
Task instructions
Create an Event content type with at least two (2) sessions and follow the numbered actions below to populate the fields before publishing. Use an example of your own to complete the fields for the event.
- Refer to the Event guide, if required, to create the event and sessions.
You can save your unpublished event content type at any time by clicking Save.
- Title - insert a title

- Event summary - insert a summary

- Event description
- If you need inspiration for an event, consult UQ Events for ideas.
- Style the exercise text to assist users in scanning the content by improving the usability
- Insert heading styles where applicable
- Event type - select an event type
- Registration - insert details

- Payment required - insert details

- Add event contact - insert details for a contact
- Images
- Teaser - upload a teaser image
- Hero - do not upload a hero image
- Teaser - upload a teaser image
- Tag - select the tag
sample eventfrom the drop-down list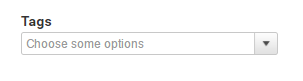
Sessions
- Session name - insert a session name

- Session date - insert a start and end date
- Session summary - insert a summary; different from the event summary

- Session description - different from the event description
- If you need inspiration for an event, consult UQ Events for ideas.
- Style the exercise text to assist users in scanning the content by improving the usability
- Insert heading styles where applicable
- Location - insert location details
- Registration - insert details if not using the parent registration details
- Payment required - insert details if not using the parent registration details
- Images
- Teaser - upload a teaser image which is different to the event teaser image
- Teaser - upload a teaser image which is different to the event teaser image
- Tag - select the tag
sample eventfrom the drop-down list - Publishing options - publish the event
Checklist: UQ Drupal Fundamentals
Avoid using Microsoft Edge or Internet Explorer for Drupal training.