3. Basic page
Basic pages and structured pages will form the majority of general content pages on your site.
The basic page offers the simplest type of page and is suitable for:
- a single topic
- content that can be displayed to the user in a single view.
Learning outcomes
At the end of the topic, you will be able to:
- Create a basic page
- Insert content
- Insert links
- Insert in-line images
- Apply best practice to edit content
- Use the WYSIWYG editor
- Publish content.
Essential guides
Check the guides before completing each task:
- Basic pages
- Headings – learn how to write good headings and ensure you follow the correct hierarchy
- Links – how to write good link text, and the difference between relative and absolute links
Basic page guide
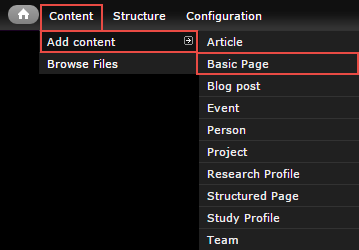
In the administration menu, go to Content > Add content > Basic page.
The edit screen displays.
- Title – page title.
- Summary – optional. Displays in teaser and card views where the page is referenced in a list. Doesn't appear on the page.
- Body – the main content on the page.

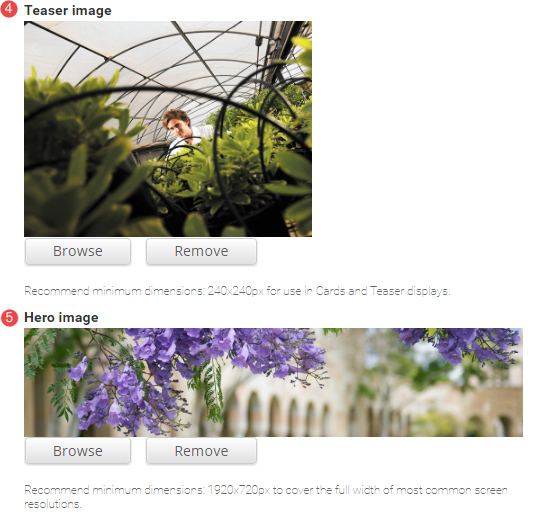
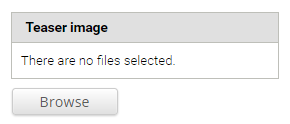
- Teaser image – Optional. Displays in card and teaser views. Advice on images.
- Hero image – Optional. Replaces the default page header with a hero banner header.
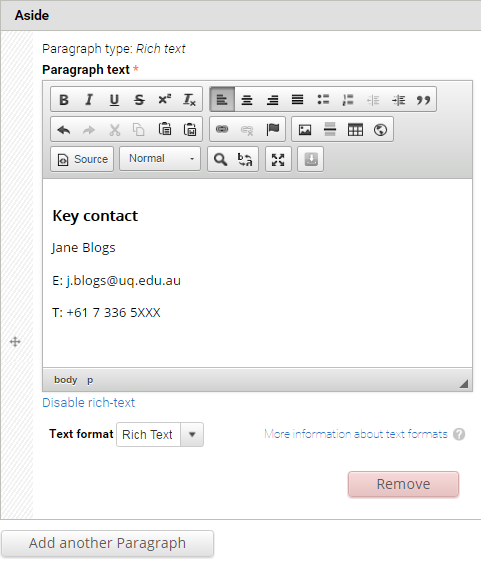
- Aside – Optional. Used for content that is tangentially related to the Body content, such reminders or contact details. Click Add new paragraph to create an Aside.

The Aside field displays.
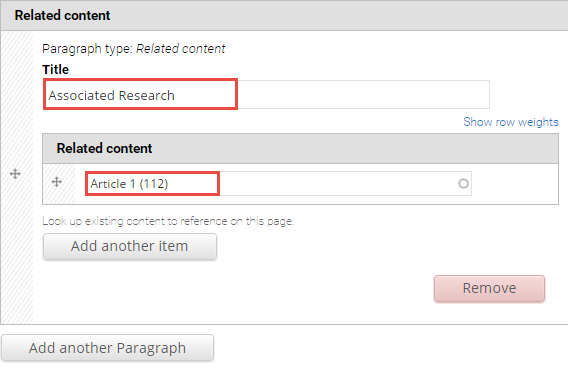
- Related content – Optional. Allows other pages on the site to be referenced in a short list. The relationship is manually created, not inferred from any data such as tags. Click Add new paragraph to create a related content group.

The Related Content fields display.
Title – Optional. Heading to label the related pages. e.g. "Associated research", or "See also".
Related content – Reference to other pages on the site. Type the first few letters of a page title to look-up the desired page. Multiple related pages can be added.
- Tags – Click the dropdown arrow to select a tag from the list of vocabularies and their terms to categorise the content.

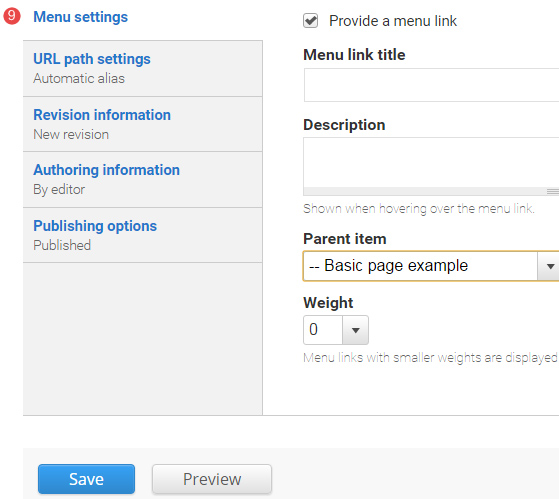
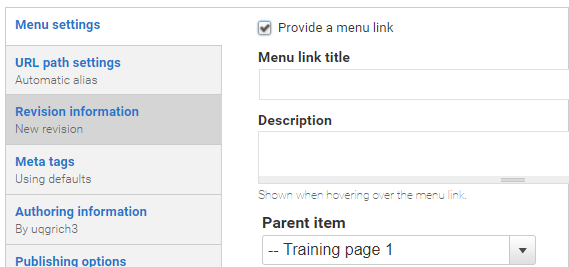
- Menu Settings – Tick provide a menu link to display the menu settings options. Adding a page to the menu ensures it will appear in the site map.

Enter the menu settings fields.
Menu link title – The menu link title is automatically populated from the basic page title. The menu link title can be edited.
Description – Content entered in the description field will be displayed when hovering the cursor over the menu link.
Parent item – Selection of a parent item ensures improved website navigation by displaying a breadcrumb trail at the top of the page.
Weight – Select a weight to determine the order of the menu link in the Parent Item. Menu links with smaller weights are displayed before links with larger weights. Tip: easier to drag the links into position to change the order.
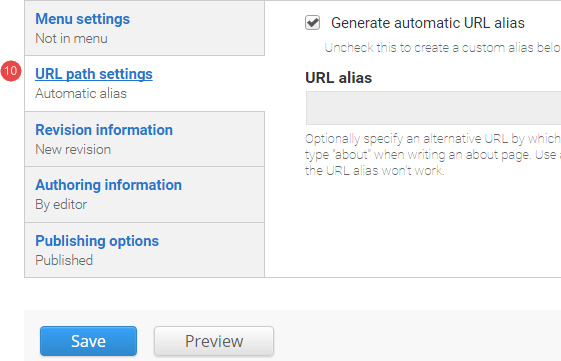
- URL path settings – a friendly URL is generated automatically if the tick box remains ticked.
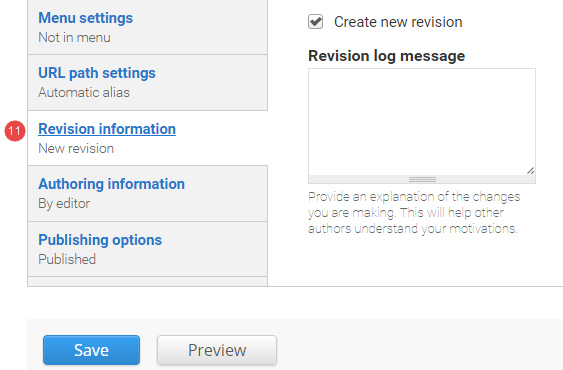
- Revision information – if 'create new revision' remains ticked, a new version of the basic page is saved each time after it is published. The versions are accessible from the revisions tab.
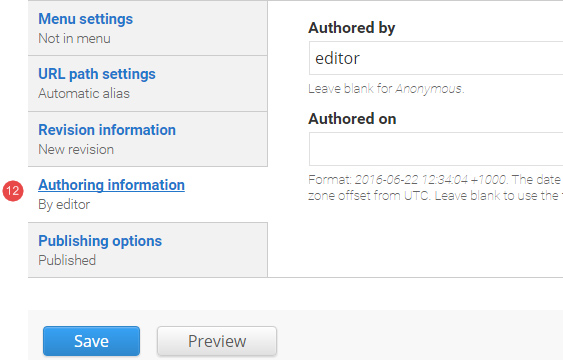
- Authoring information – The information of the author is recorded. After the basic page is saved, the "Authored on" field is updated.
- Publishing options – Click the tab Publishing options to finalise the publishing settings.
To publish – The published field is automatically ticked. Keep it ticked to publish.
To create a draft – untick published to save as a draft.
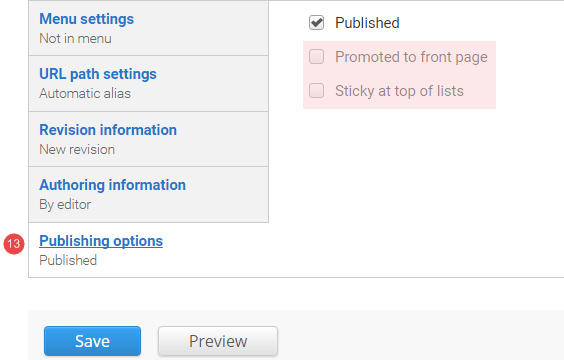
- Save – Click Save to update the basic page.
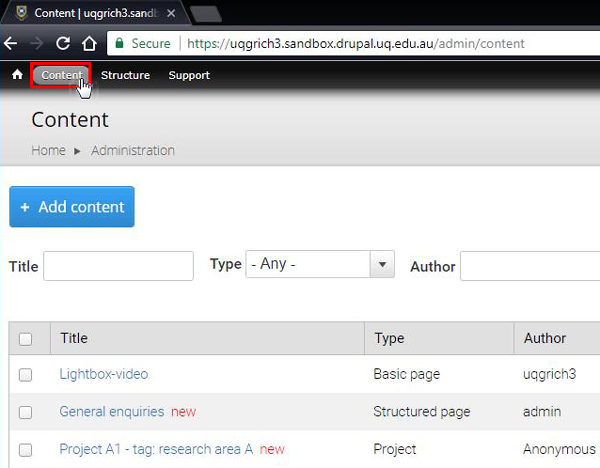
Finding basic pages in your site
To view unpublished and published pages in your sandbox site, click content in the administration menu.
Tasks to complete
For the basic page topic, there are 3 tasks, each of which require the following:
- Create a basic page.
- Complete the instructions for each basic page
- Publish the basic page
After completing each basic page, there is a review stage that consists of the following:
- Compare your published basic page with the Review associated with the task.
- Review Training page 2 on your training website where a view has been inserted to display basic pages that have the tag, sample basic page, added.
5. Task: add in-line images
Task instructions
Create a basic page and follow the numbered actions below to populate the fields before publishing.
You can save your unpublished basic page at any time by clicking Save.
1. Title
Insert the title: Effective images - [your initials]. Include your initials at the end of the title so you can find your draft page again if you need to.

2. Summary
Insert the summary text: Best practice guidance for images

3. Body
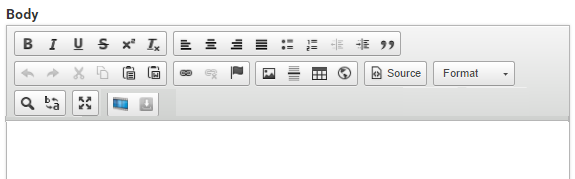
Copy the shaded exercise text below and paste it in the body field of your basic page.
Image use
Do not use images for decoration or to convey text.
Do not use photos of people where there is no permission to use their image.
For every image, enter the alternate text which describes the image for the benefit of screen readers. Caption text is optional but if used, must be different from the alternate text.
Images which display complex data, such as graphs and charts, should be explained in the text.
Use images which have a copyright notification which permit you to do so and comply with the conditions of use.
If an image is subject to copyright restrictions which prevent it from being modified, then don’t use it in fields which automatically apply an image style, such as the ‘teaser image’ field. This will result in the image being cropped and scaled down to suit a teaser list.
Example 1
In usu essent mentitum dissentiunt, iuvaret posidonium eum ex, ius at tempor ancillae vituperatoribus. Veniam eligendi conceptam ne per, ne sed suas prompta virtute, cum porro sadipscing et. Accusam argumentum quaerendum nec et, nemore pertinax torquatos pro ad. Inani noluisse reprimique usu ea. Mei te quod evertitur.
Ei per dico omnes. Has ea tota tempor qualisque. Vis facilisis cotidieque in, veri minimum singulis at quo, qui euismod equidem probatus id. Ea quod posidonium mea, ad est esse lorem. Ad sed nominavi adolescens ullamcorper, vim an elit etiam. An qui nulla maluisset. In usu essent mentitum dissentiunt, iuvaret posidonium eum ex, ius t tempor ancillae vituperatoribus. Veniam eligendi conceptam ne per, ne sed suas prompta virtute, cum porro sadipscing et. Accusam argumentum quaerendum nec et, nemore pertinax torquatos pro ad. Inani noluisse reprimique usu ea. Mei te quod evertitur. Ei per dico omnes. Has ea tota tempor qualisque. Vis facilisis cotidieque in, veri minimum singulis at quo, qui euismod equidem probatus id. Ea quod posidonium mea, ad est esse lorem. Ad sed nominavi adolescens ullamcorper, vim an elit etiam. An qui nulla maluisset.
Example 2
Facer ignota eirmod usu ex, ei eos nulla libris. Prima habemus moderatius mea cu, in vix quodsi impetus sadipscing. Cu harum molestiae per, vel brute aliquam temporibus eu, mel ne elitr legere. Meis inani voluptatibus te vix. Consetetur efficiantur ius an. Quo et duis posse velit. Sale clita ea sit, an eam graeco audire.
Mel an vivendum insolens, idque appetere luptatum in per. Qui et noster pertinax democritum. No commodo impetus pro, te has agam lucilius moderatius. Usu ut erant officiis lobortis. Id elit mutat mediocrem vim, his cu eros consul singulis, ut has atqui graeco vulputate.
- Format the pasted content to assist users in scanning the content by improving the usability
- Example 1 and Example 2 are sub-headings of Image use
- Insert an image with the following properties:
- Location: At the beginning of the first paragraph of Example 1
- a maximum width of 400px
- alternative text
- caption
- image alignment: left
- Insert an image with the following properties:
- Location: At the beginning of the first paragraph of Example 2
- maximum width of 400px
- alternative text
- image alignment: right
4. Images
- Teaser - insert a teaser image. Must be suitable to be displayed in the components (e.g. card grids) or views (e.g. vertical content list)
- Hero - insert a hero image.
5. Aside
Do not insert an aside
6. Related content
Do not insert related content
7. Tag
Do not insert a tag for the basic page
8. Menu settings
Select the parent item Training page 1
9. Publishing options
Publish the basic page
Avoid using Microsoft Edge or Internet Explorer for Drupal training.