Event and event sessions
Use the 'Event' content type to publicise details about upcoming events. It can be used for multi-day events with multiple sessions, or for one-off events with a single session.
Learning outcomes
At the end of this topic you will be able to:
- Create an event with sessions
- Create an event without sessions
- Promote an event in a horizontal card grid.
Essential guides
Check the essential guides before completing the tasks.
- Events – understand the event content type and how to use it.
- Images for the web – learn about sourcing and crediting images, cropping to the correct dimensions and optimising for best web display.
Event guide
Events are comprised of 2 parts: the Event and Sessions. Every event must have at least one session, but they can have multiple sessions. For example, an all day event may have several lecture sessions and a workshop session.
Create an event
Step 1
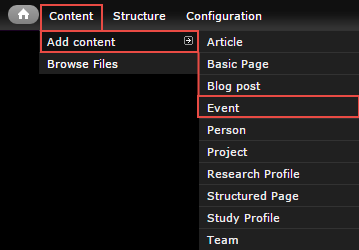
In the administration menu, go to Content > Add content > Event.
Step 2
- Title
- Event summary – Optional. Displays in teaser and card views where the event is referenced in a list. Doesn't appear on the page.
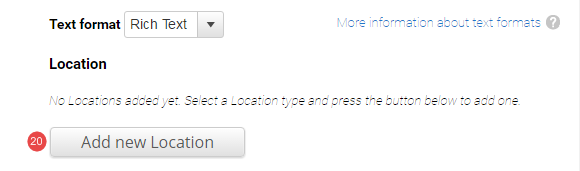
- Event description
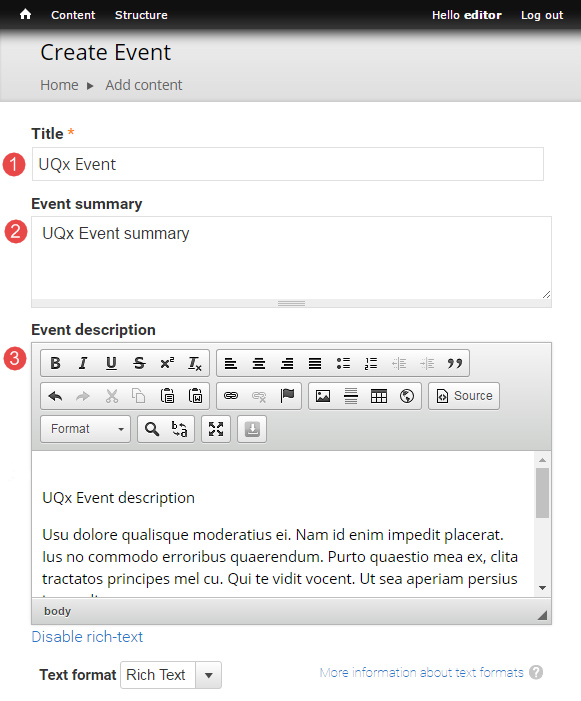
- Event type – Taxonomy term used for grouping events.

- Registration required – Tick if registration for the event is required. Additional registration fields will appear.
![]()
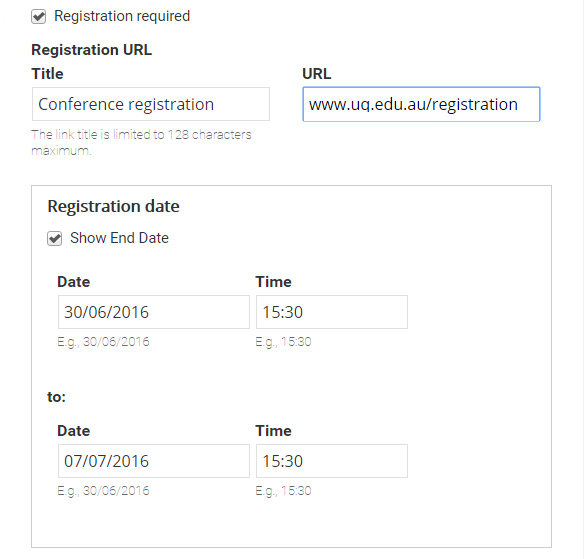
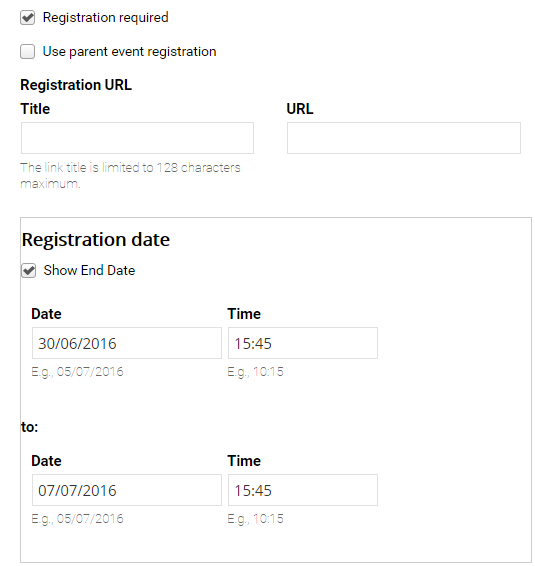
The registration fields display.
Registration URL – Label and URL for the registration button.
Registration dates – The register button will only display between the start and end dates.
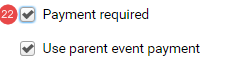
- Payment required – Tick if payment is required. Additional payment fields will appear.
![]()
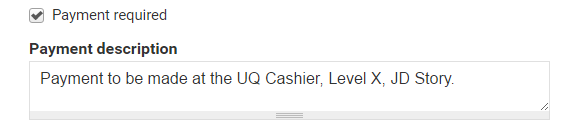
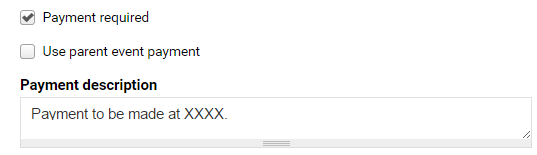
The payment fields display.
Payment description – Recommend including costs, and instructions for where/who to make the payment to.
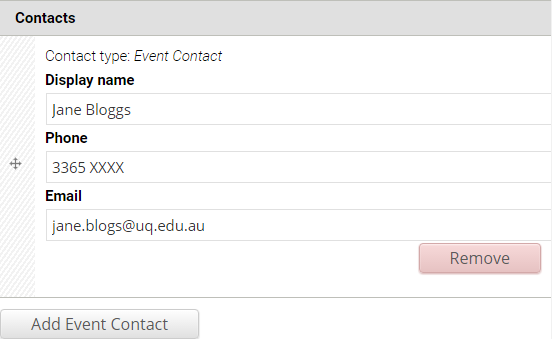
- Contacts – Optional. Provides event contact name and details. Multiple contacts can be added.
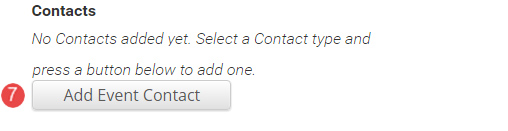
The contact fields display.
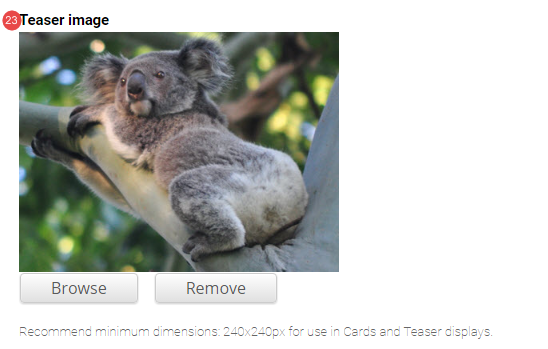
- Teaser image – Optional. Displays in card and teaser views.
- Hero image – Optional. Replaces the default page header with a hero banner header.

- Tags – Optional. Tag events to filter list of events on other pages. See taxonomiy and tagging in Drupal 7.

- Add sessions to complete the event.
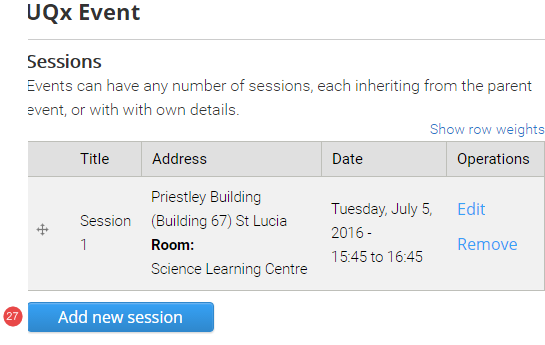
Add sessions
- Click Add new session to display the session detail fields.
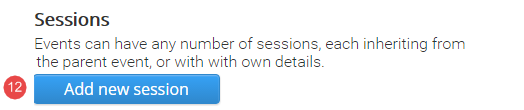
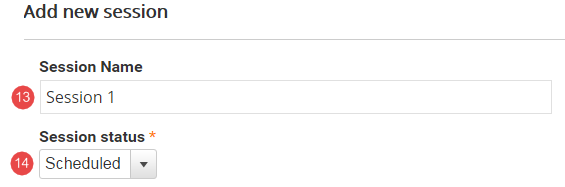
The session detail fields display.
- Enter the Session name
- Session status – The status defaults to scheduled. If a session is cancelled, the status can be updated to cancelled.
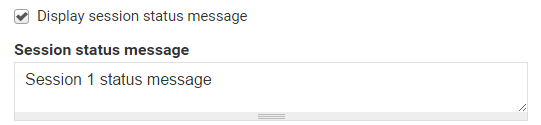
15. Tick the box to display the field to complete a Session status message to the event.
![]()
The status field displays.
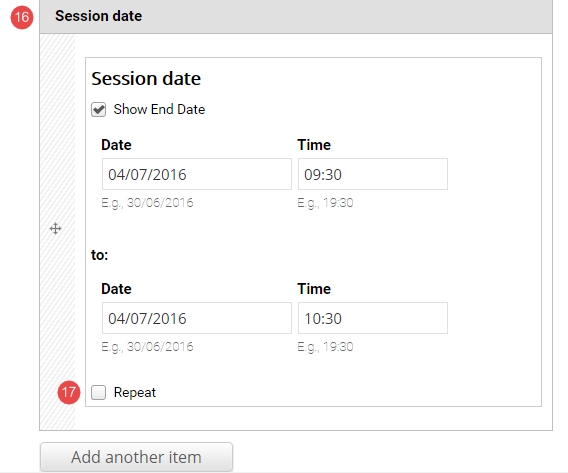
- Session date – Enter the start and end date and times.
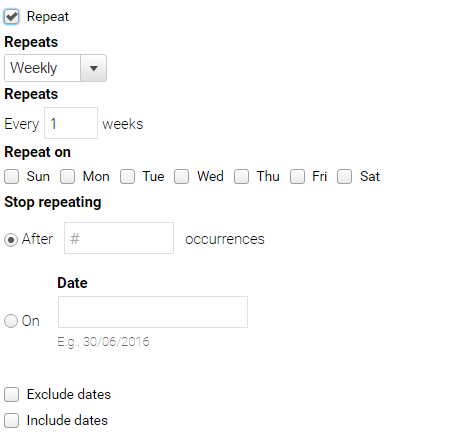
- Tick repeat sessions if additional sessions follow a pattern.
The repeat options display. Select if applicable.
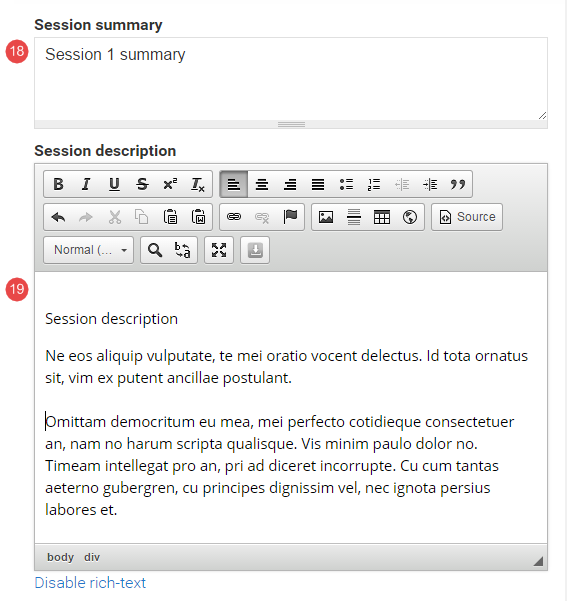
- Session summary – Displays in teaser views where a link to the session is displayed in a list.
- Session description – Displays below the event description on the session page.
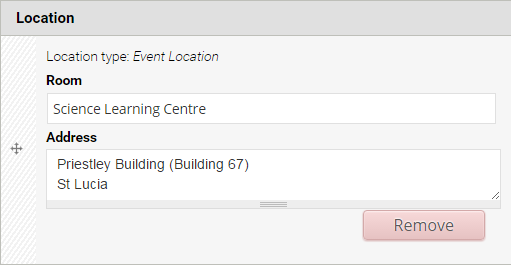
- Click Add new location for the session.
Location fields display. Enter the location details.
- If registration is required, tick the registration required box.
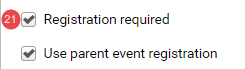
The option to use the parent registration details is automatically selected. If this is unticked, additional fields to provide specific registration details for the session are provided.
- If payment is required, tick the payment required box.
The option to use the parent payment details is automatically selected. If this is unticked, additional fields to provide specific payment details for the session are provided.
- If required, add a Teaser image for the session.
- Select tags to categorise the session.

- To publish the session, tick published.
- To save the session, click Update session.

- The saved session is added to a table. Click Add new session to add additional sessions to the event.
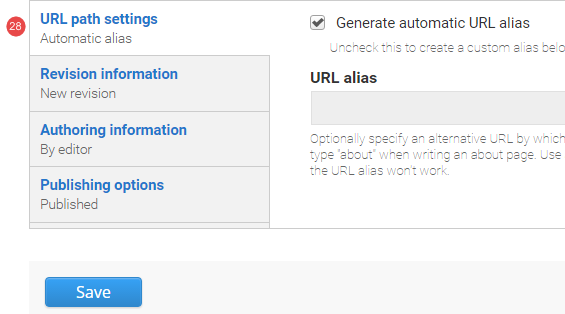
- URL path settings – a friendly URL is generated automatically if the tick box remains ticked.
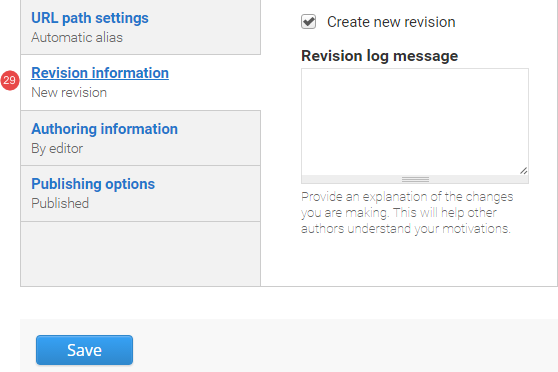
- Revision information – if create new revision remains ticked, a new version of the article is saved each time. The versions are accessible from the revisions tab.
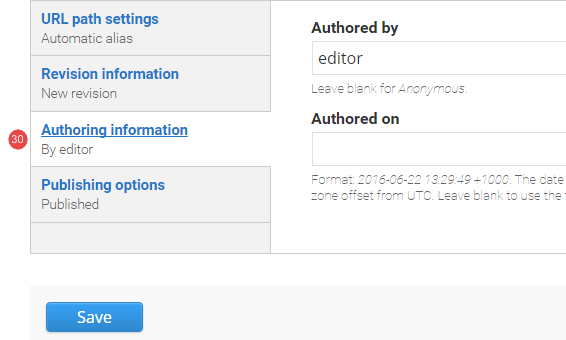
- Authoring information – The information of the author is recorded. After the article is saved, the "authored on field" is updated.
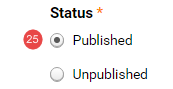
- Publishing options – Click the tab Publishing options to finalise the publishing settings.
To publish – The published field is automatically ticked. Keep it ticked to publish.
To create a draft – untick published to save as a draft.
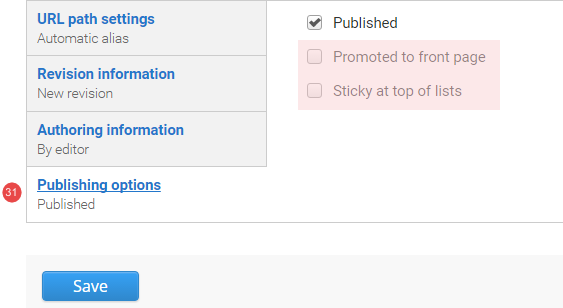
- Save – Click Save to update the article.
Tasks to complete
For the event topic, you are required to complete the following
- Navigate to the Drupal 7 training sandbox.
- Create 2 events, one with sessions and one without sessions. Each event will require the following:
- Create an event.
- Complete the instructions for the event
- Publish the event
- Review stage that consists of the following:
- Compare your published event to one that we created.
- Review Training page 2 on your training website where a view has been inserted to display all events.
- Review the Events page.
- Promote the event in the horizontal card-grid component.
4. Review: event without sessions
Compare your event with the following:
- Event - published page
- Event landing page
- Display of information in a component on Training page 2 - view: vertical content list: teaser
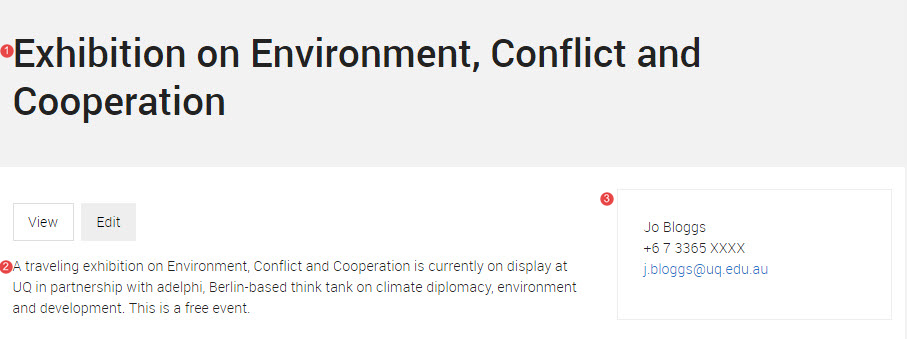
Event - published page
- Event title
- Event description
- Event contact
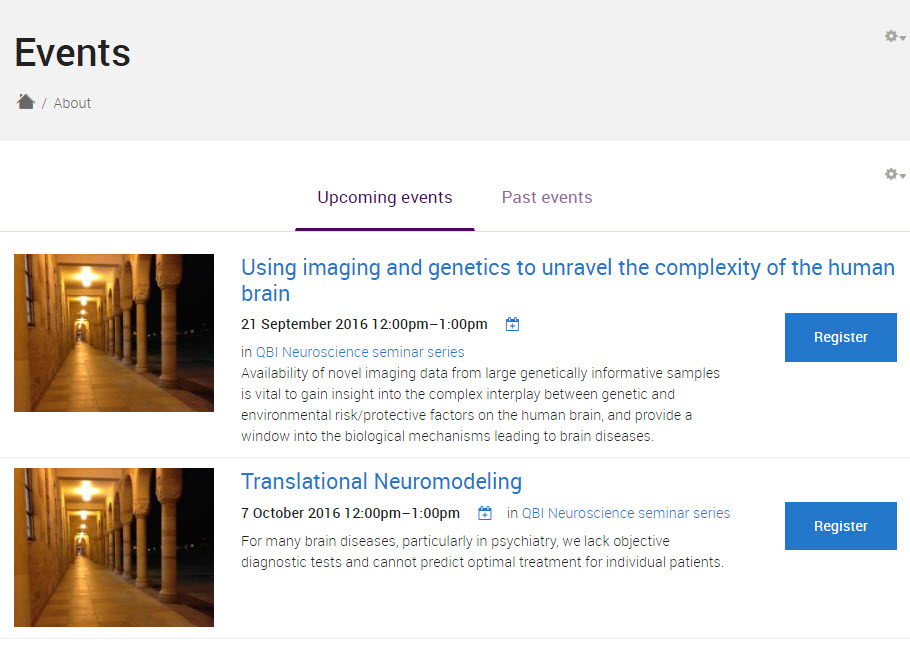
Events landing page
To view the Events page go to /events on your website. E.g. https://dev-drupal7-training-uq.pantheonsite.io/events
The events landing page only displays event sessions rather than the overarching event. Because this event did not have event sessions, no additional information has been added to the events landing page.
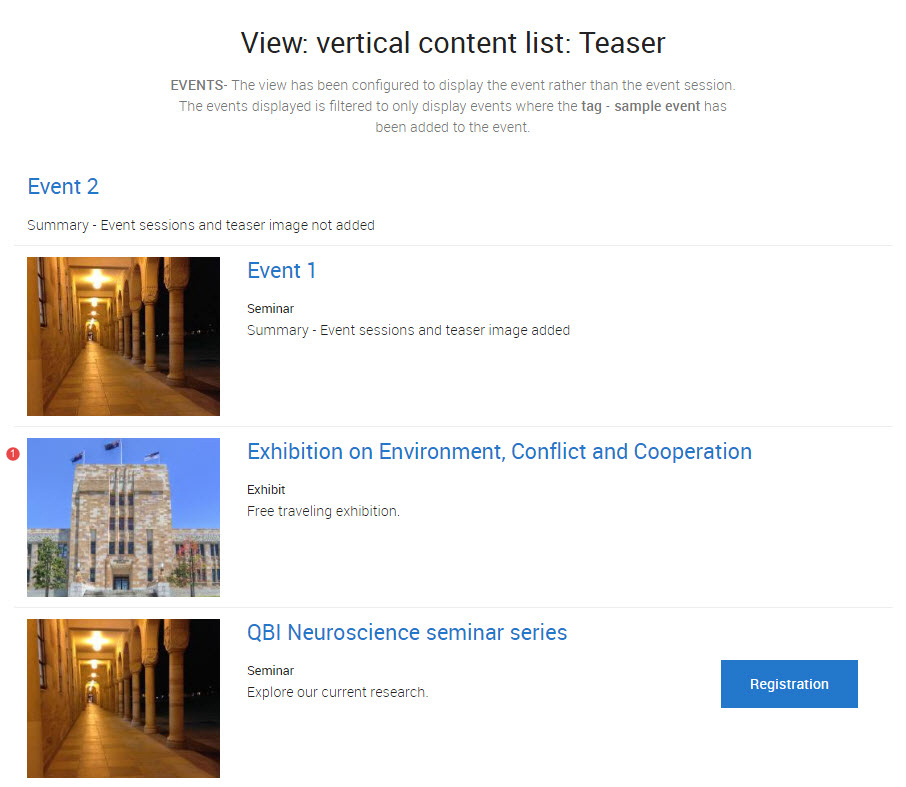
Display of information in a component on Training page 2- view: vertical content list:teaser
Purpose: to show you what happens if you tag your content with sample event.
if content is tagged with sample event, it will appear in the View: vertical content list: teaser for Events.
if you added a teaser image to your event, the teaser image will be displayed along with the hyperlinked title and summary for your event.
- New overarching event is displayed.
Avoid using Microsoft Edge for Drupal training.